")
If cookies could orbit around love, they’d be the Flour Power Nebula Cookies, a celestial treat destined to sweeten your day. Imagine cookies that are not just delicious but also a conversation starter, yep, these cookies are out of this world. With a blend of vibrant flavors and textures, they’re sure to make even the pickiest eaters go weak in the knees. So, buckle up and get ready to embark on a cosmic baking adventure that combines science and sweetness. Who knew flour could hold so much power?
The Origin of Flour Power Nebula Cookies
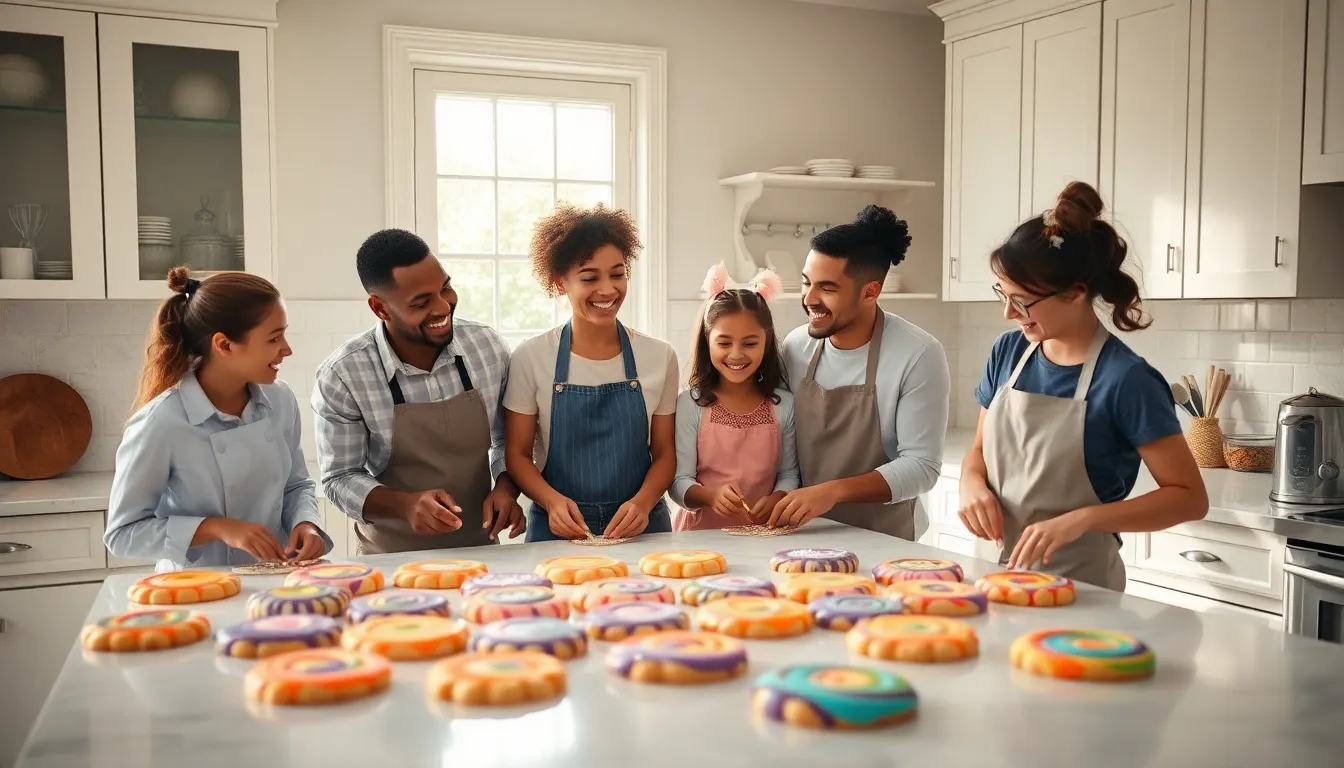
The Flour Power Nebula Cookies were born from an inspired mix of creativity and nostalgia. Picture a cozy kitchen, where the smell of fresh cookies mingles with the laughter of family and friends. These cookies represent that warmth, drawing inspiration from both the beauty of space and the love shared among those who bake them. Popular in certain baking circles, they gained traction online as home bakers began to share their versions, showcasing bright colors and whimsical designs that mirrored the swirling colors of a nebula. The goal? To create a cookie that is not just a treat, but an experience and a canvas for culinary imagination.
What Makes These Cookies Unique?
So, what sets Flour Power Nebula Cookies apart from your standard chocolate chip? For starters, the visual appeal is unmatched. Each cookie resembles a miniature galaxy, featuring bursts of color that draw the eye and please the palate. The unique blend of flavors takes center stage, combining vanilla, almond, and a hint of citrus zest. The result? A taste that’s both familiar and utterly extraordinary. The texture is another highlight. They are soft yet chewy, with a slight crisp around the edges, creating a delightful mouthfeel that makes every bite a joy. Plus, the playful name adds a fun twist, making them perfect for celebrations, gifts, or simply indulging oneself.
Ingredients You’ll Need
Ready to gather your cosmic ingredients? Here’s what you’ll need to create Flour Power Nebula Cookies:
- 2 1/4 cups all-purpose flour: The foundation for your cookies.
- 1 teaspoon baking soda: Because every cookie party needs a lift.
- 1/2 teaspoon salt: Enhances the flavors, making each bite pop.
- 3/4 cup unsalted butter, softened: Adds richness and a buttery flavor.
- 1 cup granulated sugar: Sweeten the deal.
- 1 cup brown sugar: For that deep, wholesome caramel taste.
- 2 large eggs: Binding power for the ultimate texture.
- 2 teaspoons vanilla extract: Adds warmth and familiarity.
- 1 teaspoon almond extract: A hint of surprise in every cookie.
- Zest of 1 lemon or orange: For a bright zing.
- Gel food coloring: The secret weapon for that nebula look.
Once you have these, unleash your inner baker.
Step-By-Step Baking Instructions
Baking Flour Power Nebula Cookies is a breeze. Here’s how:
Step 1: Preheat the Oven
Preheat your oven to 350°F (175°C). This sets the stage for your cookies to bake perfectly.
Step 2: Mix the Dry Ingredients
In a medium bowl, whisk together flour, baking soda, and salt. Set this aside.
Step 3: Cream the Butter and Sugars
In a large bowl, cream the softened butter, granulated sugar, and brown sugar until it’s light and fluffy. You’ll want to beat for about 2-3 minutes.
Step 4: Add Eggs and Extracts
Beat in the eggs, vanilla extract, and almond extract, mixing until well combined.
Step 5: Combine Wet and Dry Ingredients
Gradually mix the dry ingredients into the wet mixture, stirring until combined.
Step 6: Divide the Dough
Divide the dough into equal portions in separate bowls depending on the number of colors you want. Add a few drops of food coloring to each bowl, kneading the dough to blend the color until you reach your desired shade.
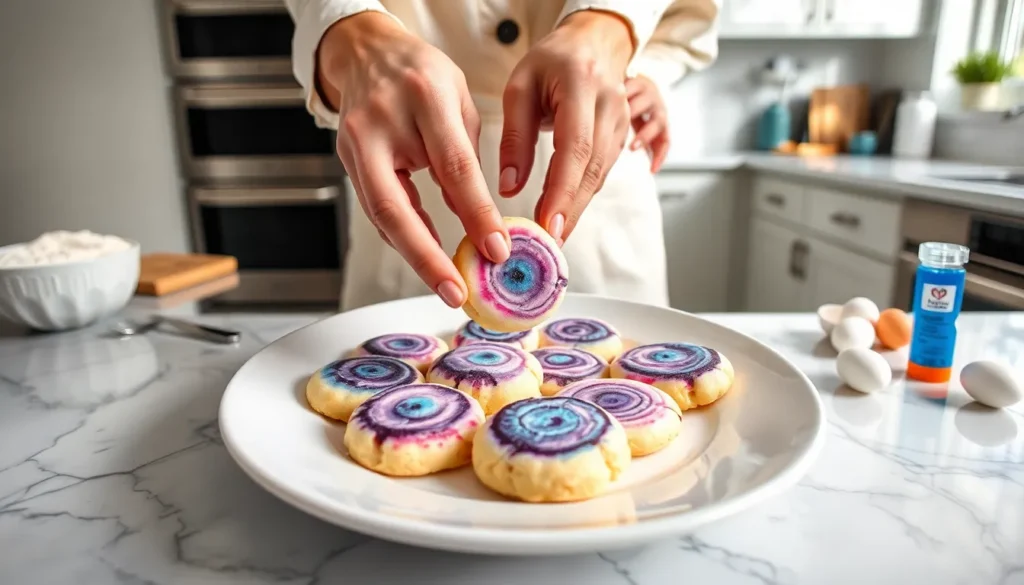
Step 7: Shape the Cookies
Take a small amount of each colored dough and roll it into small balls. Gently press these balls together to form a marble effect, then place them on a baking sheet lined with parchment paper.
Step 8: Bake
Bake for about 10-12 minutes, or until the edges are golden and the centers are soft. Let them cool on the baking sheet for 5 minutes before transferring them to a wire rack to cool completely.
Creative Variations and Additions
Once the basics are down, it’s time to get creative. Try incorporating:
- Chocolate Chips: Add semi-sweet or white chocolate chips for a sweet twist.
- Nuts: Chopped pecans or walnuts add a crunchy texture.
- Sprinkles: For festive occasions, sprinkle some colorful nonpareils on top before baking.
- Dried Fruits: Why not add cranberries or cherries for added tartness?
- Spices: A pinch of cinnamon can heighten the flavor profile.
Each variation brings its unique touch, allowing for endless possibilities and exciting cookie adventures.
The Perfect Pairings for Your Cookies
Pairing these cookies with the right drinks can elevate your experience to new heights. Consider:
- Milk: A classic. Cold or warm, it complements the cookie’s flavors beautifully.
- Coffee: The rich depth of coffee contrasts perfectly with the sweetness of the cookies.
- Herbal Tea: Chamomile or peppermint provides a refreshing balance.
- Ice Cream: Sandwich these cookies with ice cream for an indulgent treat.
Serving them with the right beverage transforms a simple dessert into a delightful experience.