")
Have you ever walked into a room during a rainstorm only to find your living room doing its best impression of a swimming pool? Or perhaps you’ve felt that unfortunate drip on your head while watching your favorite show. Fear not. Patching a roof doesn’t have to be a scary ordeal. With a sprinkle of know-how and a dash of can-do attitude, anyone can tackle this task. In fact, it can be somewhat satisfying to repair your home. So roll up those sleeves, and let’s jump into how to patch that roof and stop the leaks.
Understanding Roof Patching
Roof patching is a crucial maintenance skill for homeowners. It involves identifying damaged areas of a roof and applying materials that effectively seal these leaks. Understanding roof patching is not just about fixing that annoying leak: it’s about extending the life of the roof itself. A well-patched roof can prevent water damage, mold growth, and insulation issues. Essentially, patching acts like a band-aid for your roof, allowing it to stay healthy and protect your home from the elements.
Common Roof Issues That Require Patching
Several common issues can necessitate roof patching. Here are some causes that might lead a homeowner to reach for that caulk gun:
- Missing Shingles: High winds or storms can easily blow away shingles, leaving your roof exposed.
- Cracks: Over time, materials can crack due to expansion and contraction or extreme weather conditions.
- Blistering: This occurs when water gets trapped under roofing material, leading to the formation of blisters.
- Leaks: The most dreaded problem: leaks are often signs of more extensive damage.
- Damaged Flashing: Flashing seals joints and prevents water seepage, a vital area to inspect during maintenance.
Materials And Tools Needed For Roof Patching
Before embarking on your patching adventure, gather the right materials and tools. Here’s what you’ll typically require:
- Roofing Cement: Essential for sealing cracks and gaps. Look for a product rated for your particular roofing material.
- Plywood: If structural damage occurs, new plywood can replace rotted sections.
- Shingles: Match to existing materials for a seamless appearance.
- Caulking Gun: Perfect for applying roofing cement precisely.
- Utility Knife: Useful for cutting materials to size.
- Safety Gear: Helmets, gloves, and safety goggles ensure protection while working.
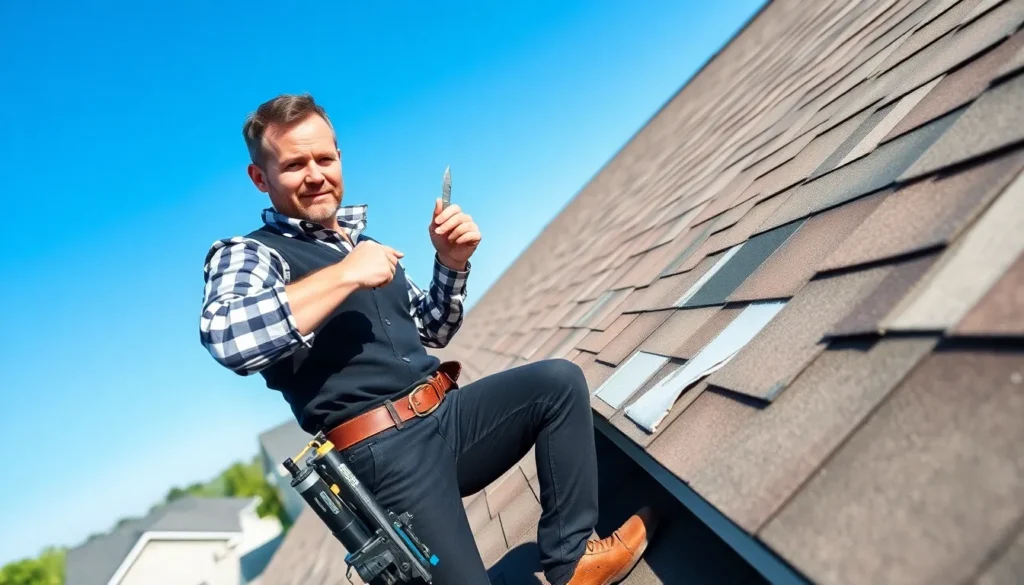
Step-By-Step Guide To Patching A Roof
Now comes the fun part. Here’s a step-by-step guide on how to patch a roof:
- Inspect the Roof: Start with a thorough inspection to identify leaks and determine the extent of the damage.
- Remove Damage: If shingles are broken or missing, carefully lift them, as well as any underlayment that may be compromised.
- Prepare the Surface: Clean the area where you’ll apply the new material. Remove debris and old roofing cement.
- Apply Roofing Cement: Use your caulking gun to put down a thick layer of roofing cement to the damaged area.
- Install Shingles/Plywood: If you need to install new shingles or plywood, now is the time. Press down firmly to ensure a good seal.
- Seal Edges: Finish with a layer of roofing cement over the seams and edges to prevent future leaks.
- Allow to Cure: Follow the product instructions concerning drying time, typically 24 hours before any heavy rain.
Tips For Successful Roof Patching
For an effective patch, consider these tips:
- Choose the Right Weather: Patch on dry days when no rain is expected for at least 24 hours.
- Wear Proper Footwear: Ensure your shoes have good traction to prevent slipping.
- Test After Patching: Once the patch is complete, check during the next rain to ensure everything holds.
Safety Precautions When Patching A Roof
Safety should always come first. Here are essential precautions:
- Secure the Ladder: Ensure your ladder is stable before climbing.
- Wear a Harness: If you’re working on a steep roof, consider using a safety harness.
- Stay Aware: Keep an eye on yourself and your surroundings to avoid accidents.